Every great product starts as an idea, but
turning that idea into something tangible takes the right approach. One of the
most important steps in that journey is selecting the right prototyping tooling. The tools you choose shape how your concept evolves, how quickly
you test it, and how accurately it reflects your final product. This guide
walks you through practical ways to make the right choice without confusion.
Stay with it till the end, because the decisions you make early can define the
success of your entire project.
| Criteria (闂傚倷绀侀幖顐ょ矓閺夋嚚娲Χ婢跺﹪妫烽梺璺ㄥ櫐閹凤拷) | Aluminum Tooling | Soft Steel (P20) Tooling |
|---|---|---|
| Lead Time (闂傚倷绀侀幉锛勭矙韫囨稑绀夌€广儱鎷戦懓鍧楁煥閻曞倹瀚�) | 2 - 3 Weeks | 3 - 5 Weeks |
| Tool Life (闂備浇顕ч柊锝呩缚瑜旈幃妯衡攽鐎n亞鐤囬梺璺ㄥ櫐閹凤拷) | Up to 5,000 shots | Up to 50,000 shots |
| Material Complexity | Standard Thermoplastics | Reinforced/Abrasive resins |
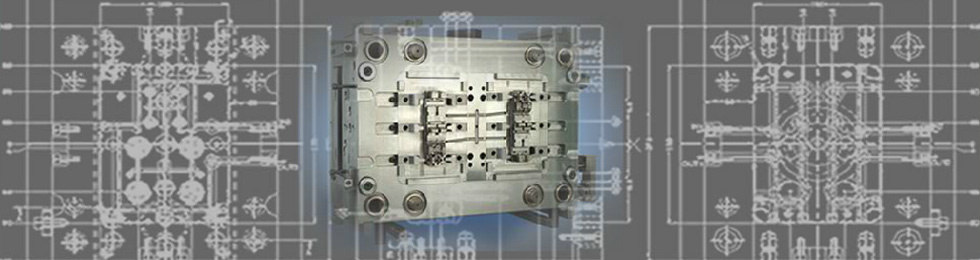
Prototyping tooling refers to the methods and tools used to create
early versions of a product. These prototypes help test design, functionality,
and feasibility before full-scale production begins. It acts as a bridge
between concept and manufacturing.
Define the Purpose of Your Prototype
Start by asking what you want to achieve. Is it for visual
presentation, functional testing, or user feedback? Clear goals help you select
tooling that matches your project闂傚倷鑳堕崑銊╁磿閺屻儲鍋橀柨鐕傛嫹 stage and avoids unnecessary complexity.
Consider the Level of Detail Required
Some projects need high precision, while others focus on basic
structure. Understanding how detailed your prototype needs to be will guide
your choice of materials and tooling methods.
Rapid Prototyping Techniques
Techniques like 3D printing allow the quick creation of models.
These methods are ideal for early-stage testing and design validation because
they are fast and adaptable.
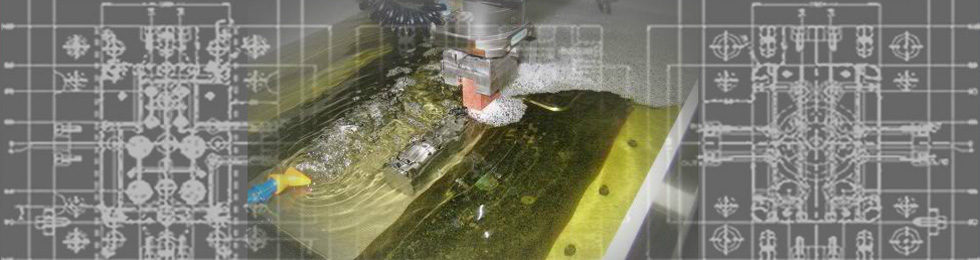
Traditional Tooling Methods
Conventional methods, such as molding or machining, offer more
durability and precision. These are better suited for prototypes that need to
closely resemble final products.
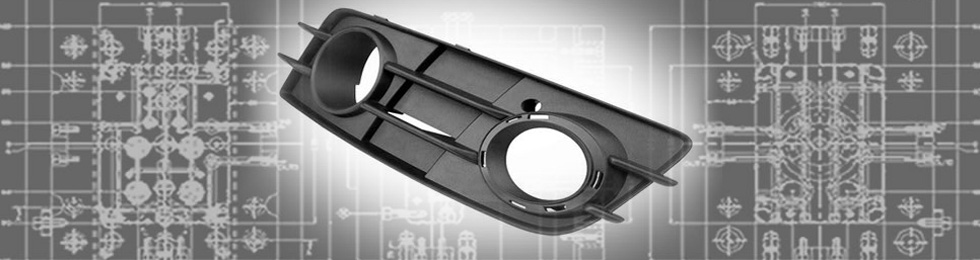
Match Materials to Function
Choose materials that reflect how the final product will behave. For
example, flexible materials for wearable products or rigid materials for
structural components. This ensures accurate testing and better insights.
Balance Cost and Performance
High-end materials provide better results but increase costs. Select
materials that meet your needs without exceeding your budget, especially during
early development stages.
Plan for Development Time
Different tooling methods require different timelines. Rapid methods
are faster, while traditional tooling may take longer. Align your choice with
your project deadlines.
Stay Within Budget Limits
Budget plays a key role in decision-making, so make sure evaluate
the cost of tooling against the value it provides. Efficient choices help you
progress without overspending.
Allow Room for Changes
Prototyping is rarely a one-step process. Choose tooling that allows
easy modifications. This flexibility helps refine your design without starting
from scratch each time.
Focus on Feedback
Use prototypes to gather feedback from users or stakeholders. Their
input helps identify improvements and ensures your final product meets
expectations.
Collaborate with Skilled Professionals
Experienced professionals can guide you through tooling options and
help avoid common mistakes. Their insights can improve both efficiency and
quality.
Evaluate Supplier Capabilities
Choose partners who understand your project requirements. Reliable
suppliers ensure consistent results and support throughout the development
process.
Overcomplicating the Process
Using advanced tooling too early can waste time and resources. Start
simple and scale up as your design becomes more refined.
Ignoring Future Production Needs
Your prototype should align with future manufacturing plans.
Choosing incompatible tooling can create challenges when transitioning to
production.
Final Thoughts
Choosing the right approach to prototyping tooling is about
understanding your project and making practical decisions at each stage. From
selecting methods to choosing materials, every step contributes to how your
idea takes shape. When done thoughtfully, this process leads to smoother
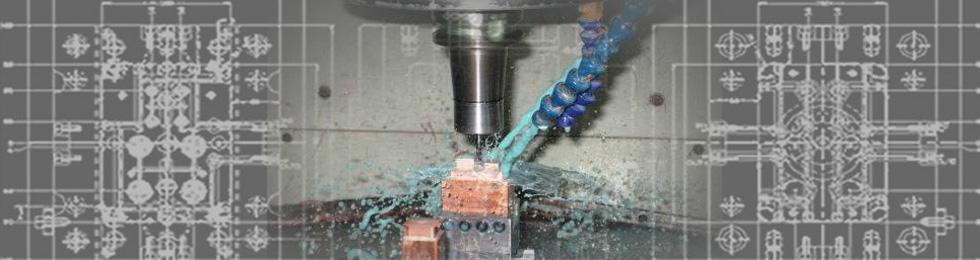
transitions into CNC
production and beyond. A well-planned prototype is not just a model; it
is the foundation of a successful product.
Frequently Asked Questions
What is the main purpose of prototyping tooling?
Prototyping tooling helps create early versions of a product. It
allows testing, design validation, and improvements before moving into
full-scale production.
How do I choose the right tooling method?
Consider your project goals, required detail, budget, and timeline.
These factors help determine whether rapid or traditional methods are more
suitable.
Is rapid prototyping always the best option?
Not always. Rapid prototyping is great for speed, but traditional
methods may be better for durability and accuracy in later development stages.
Can I change tooling methods during a project?
Yes, many projects shift methods as they progress. Early stages may
use simpler tools, while later stages require more precise techniques.
Why is material selection important in prototyping?
Materials affect how the prototype performs and looks. Choosing the
right material ensures accurate testing and better representation of the final
product.
When should I choose aluminum prototyping tooling over steel? A: Aluminum is ideal for quick-turn projects (2-3 weeks) where you need to validate design with production-grade materials but only require a few thousand parts. It's cost-effective and offers excellent heat dissipation.
UTT Expert Tip:
Don't just look at the tool cost. Consider the 'Total Cost of Validation'. Sometimes investing slightly more in soft steel prototyping tooling saves thousands in late-stage engineering changes.
A 3D CAD file, plastic material, target quantity, tolerance needs, surface finish and testing purpose help the engineering team choose between rapid tooling and production tooling.
A project should move toward production tooling after the design is stable, trial parts meet requirements and the expected order volume needs stronger mold life and repeatable process control.
Yes. Prototype tooling can support molded samples and small batches, then the approved design can move into molded plastic part production with quality checks.